Tuesday, September 28, 2010

Tissue Flowers - Yellow and Orange!


UPDATE

Want to learn more about how to 
creatively use our packaging products?

Take a look at our new blog,

A Beautifully Wrapped Life here


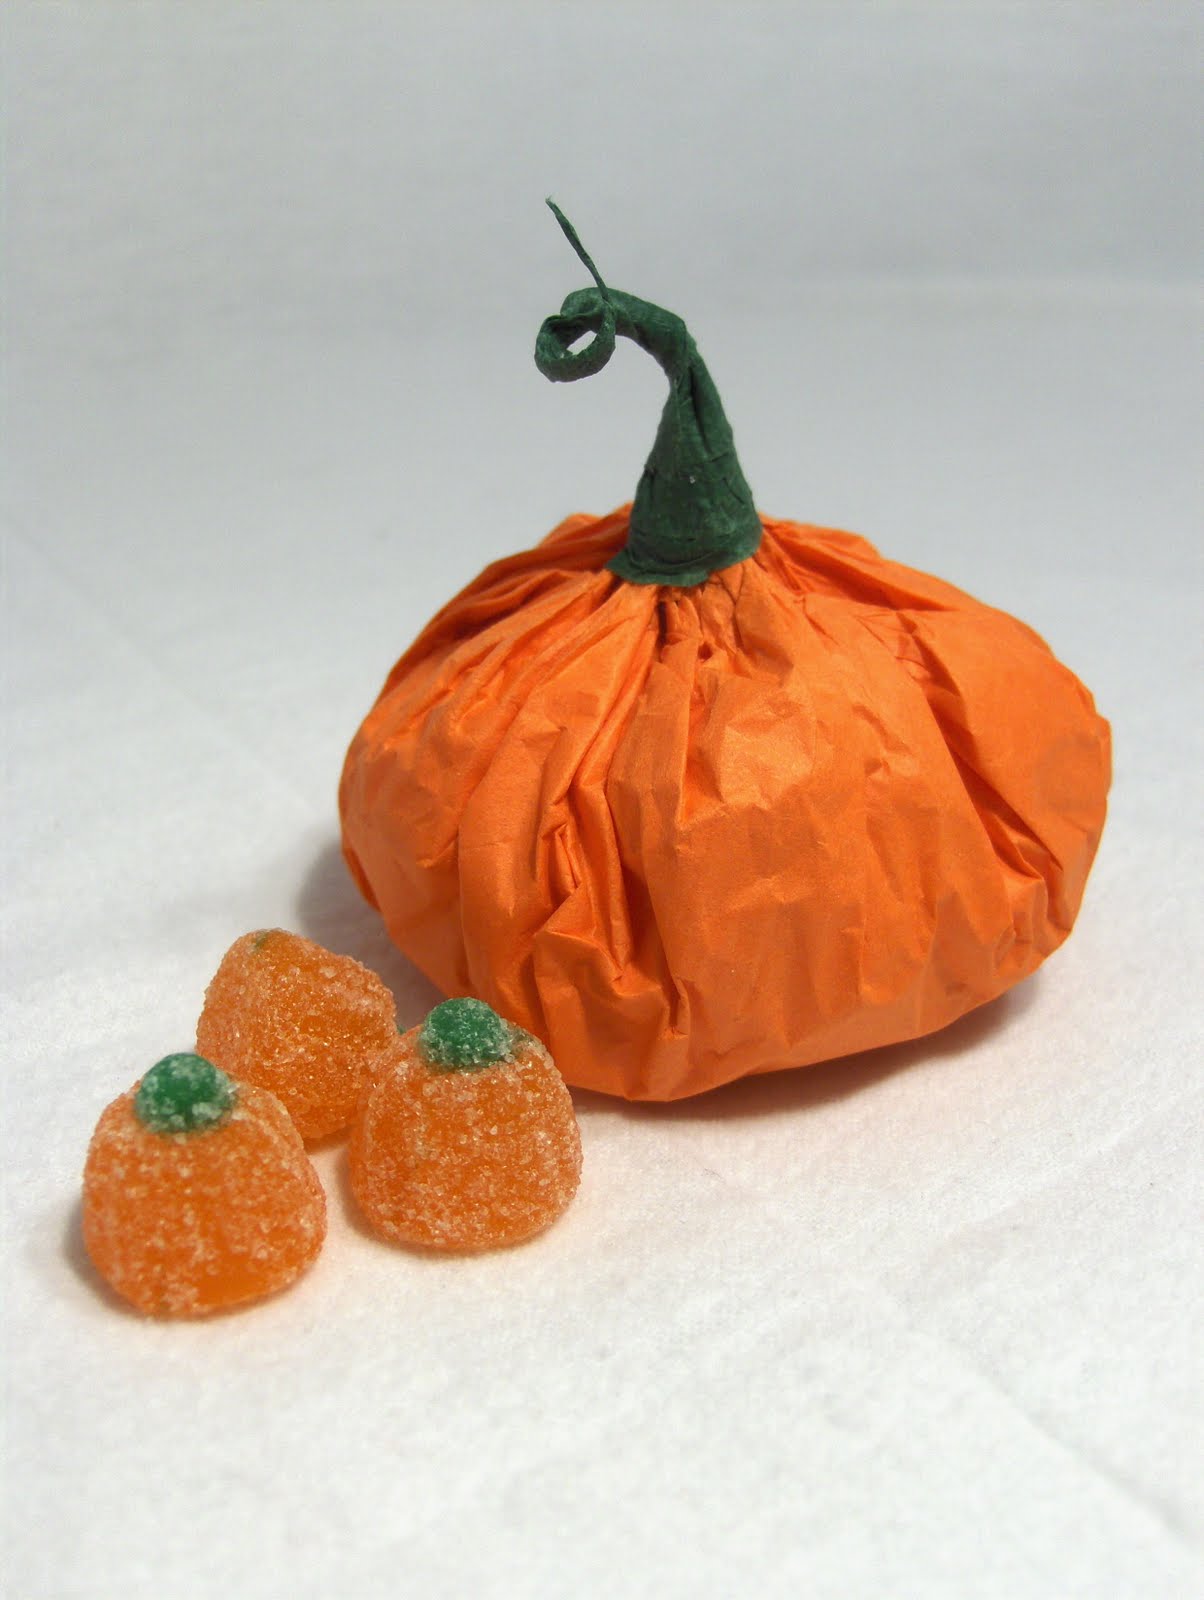
Making tissue flowers is still one of our most searched projects! Whether it's for a birthday, shower, wedding or other special occasion, tissue flowers make a perfect decoration or giftwrapping accent. Easy and inexpensive to make, tissue flowers can be made in virtually in colour and any size.

This photo was taken back in August when we had the tissue flower display in our tree at the front of the Store. We still get customers coming in asking to see the samples! So, here's tutorial on how to make large tissue flowers-

Start with tissue paper sheets that you can cut into a rectangle of any size. We took a full sheet (20" x 30") and cut in half to make a 15" x 20" sheet.

Stack 8 sheets of tissue or more if you would like even fuller flowers. You can make the flowers all one color, alternate 2 co-ordinating colours or make them in a rainbow of colours! We chose to make this flower with the orange and yellow tissue, alternating.

Then accordian fold your tissue paper sheets working from the longest sides. Use a ruler or bone folder to crease the 1" folds.

Cinch your folded tissue paper sheets in the center using a length of tinsel cord to tie. You can also use a 1 yard length of satin ribbon to tie if you wish to hang your blooms from a tree or ceiling.

Now gently pull each piece of tissue paper towards the top center of the bloom to make a full circle tissue flower. And there you have your beautiful tissue flowers!

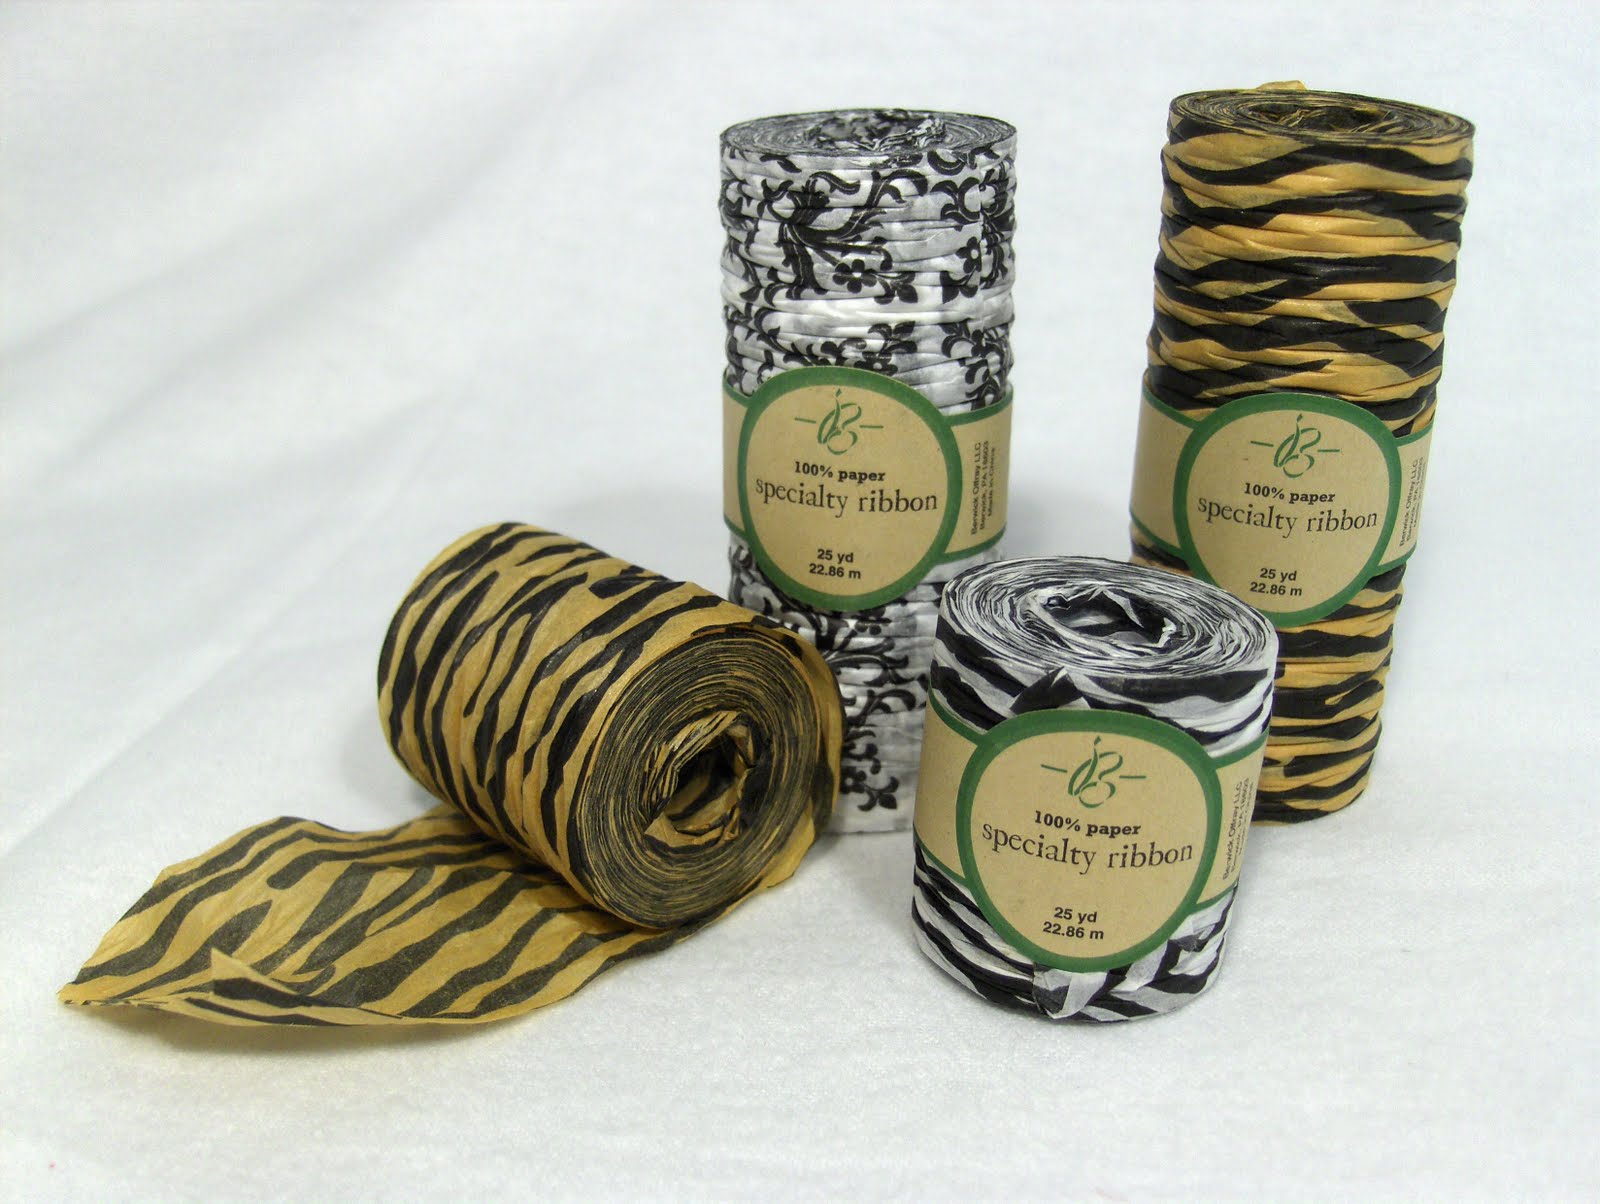
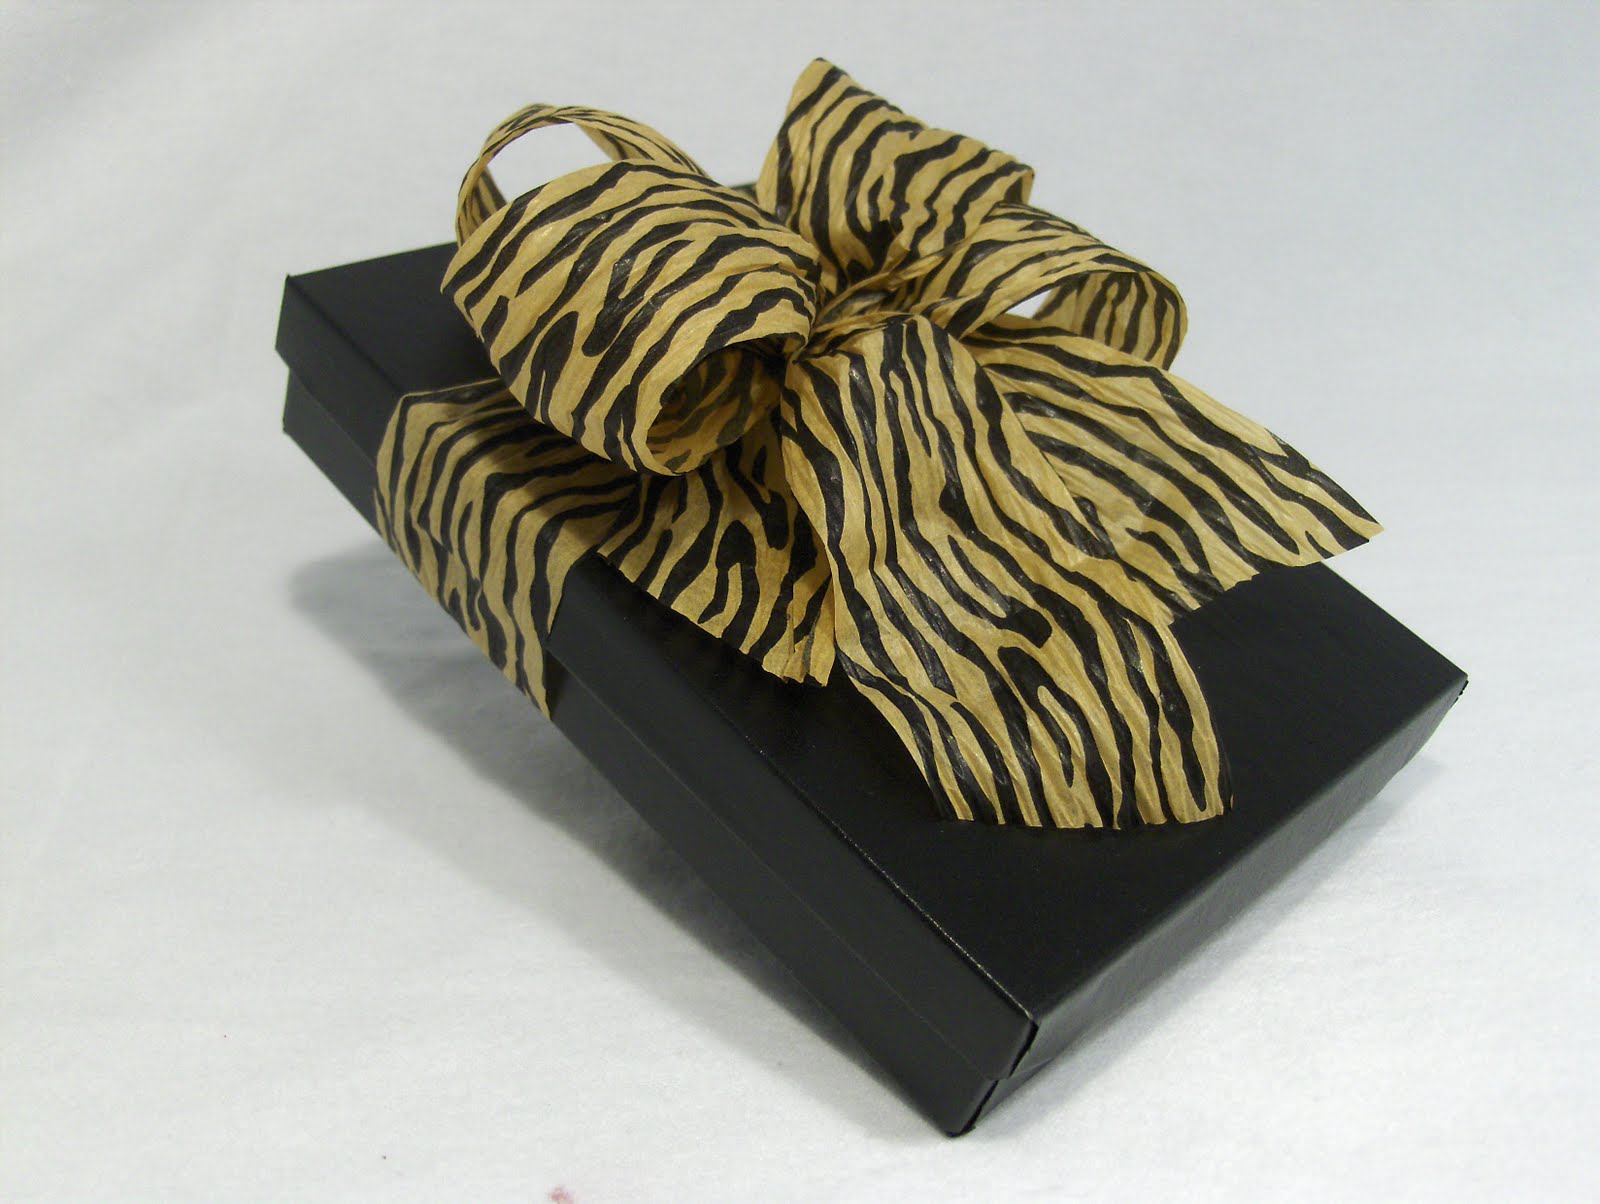
All the tissue paper and ribbon shown in this project are available at Essential Packaging.


Monday, September 27, 2010

Halloween Treat Bags!


UPDATE

Want to learn more about how to 
creatively use our packaging products?

Take a look at our new blog,

A Beautifully Wrapped Life here


That spooky day is coming up soon so here's a great project for making your own Halloween treat bags. This is a fun way to dress up plain brown or white grocery bags for school and home parties. If you already have rubber stamps, this is a great way to use your collection for another purpose. Be as creative as you wish! This is even a perfect project for the little monsters to help with, as long as they can handle an ink pad!

Don't be afraid to try different things with your Halloween treat bags: in this sample, we used just one simple stamp, drew a dotted line for the spider's web, trimmed the top of the bag with fancy-edged scissors, folded over the top and added a little bow. We liked the simplicity of this treat bag - easy enough for kids or the "creatively-challenged"!!

Ok, just to show you that you don't have to be "Martha" to make a really terrific looking Halloween treat bag, this sample was done by a guy, my dearest and beloved! He came up with the design himself, using stamps from two different sets to create his version of Frankenstein - not bad, eh?

These two samples we did using the repetition of a single stamp - changing the ink color and ribbons, gives the Halloween treat bags a similar and co-ordinating feel.

You don't have to limit yourself to just treat bags, why not try making Halloween treat boxes?! If you're feeling generous with your Halloween baking, decorate a gift box or bakery box to put the goodies in.

Hope this inspires some of you to try your hand at making your own Halloween treat bag and boxes this year!


This project has been featured on Today's Creative Blog and The Idea Room !

(all the stamps used in these samples are from Stampin' Up)


Sunday, September 19, 2010

New Printed Ribbon!


UPDATE

Want to learn more about how to 
creatively use our packaging products?

Take a look at our new blog,

A Beautifully Wrapped Life here


We just received the newest additions to our line of printed ribbon and they're fantastic! "Happy Birthday", "Just For You" and "Celebrate" are now available in different satin ribbon colours, all with silver foil print.

These printed ribbons, exclusive to Essential Packaging, are so elegant on their own. They can enhance even a plain box. In the sample above, we tied the "Just For You" ribbon in a double knot on stacked white ballotin boxes - quick, simple and ideal for a man or woman's gift.

My favorite is the new "Celebrate" ribbon in the plum color - gorgeous! This is the hot colour for the upcoming holiday season. Use this ribbon for almost any occasion including weddings.


We're loving this "Happy Birthday" ribbon in Turquoise! Again, this one's perfect for any gender. It looks really sharp when co-ordinated with the lighter Navajo Turquoise colour.

Hope you'll try one of these new ribbons the next time you're in the Store! We also have new holiday printed ribbon colours coming for this year - we'll post photos of them as soon as they get here! Stay tuned...

Thursday, September 16, 2010

Wrapped Edible Gifts!


UPDATE

Want to learn more about how to 
creatively use our packaging products?

Take a look at our new blog,

A Beautifully Wrapped Life here


This fall, when you're visiting family and friends, remember to take along a little gift for your hosts. Since beautifully wrapped edible gifts are always a great idea, we wanted to share a few ideas with you-
We took our mini pumpkin raisin loaves (see below) and wrapped them 3 different ways: in patterned cellophane bag, in a brown gift box and in patterned cellophane wrap and all tied up with Wraphia ribbon. All 3 ways are quick, easy and make a wonderful presentation.

The cellophane bags are the absolute easiest way to package up your loaves - just put them in and tie them up! It doesn't get much easier than that!

For something a little fancier, try using a giftbox. The box we used in this photo is our #73 size (7" long x 4" wide x 3" tall). We then used some autumn coloured Wraphia ribbon to accent the top of the box.


Inside, we lined the giftbox with parchment paper to prevent any greasy butter marks on the box.

We chose this recipe for pumpkin raisin loaf from Canadian Living and from first hand experience, it's terrific! Though tasty as per the recipe, we added some walnuts for extra flavor. We also made our's a s mini loaves instead of regular sized ones.

Three little loaves fit snugly into the giftbox. Remember that all the loaves should be completely cooled before packaging them up.

For our last wrapping idea, we decided to wrap the mini loaf in patterned cellophane wrap. Cut a piece of cellophane wrap about 16" wide and about 18" long. Place the loaf in the middle of your piece of cellophane wrap, along the 16" length; the end of cellophane should be at the bottom of the loaf.

Gently wrap the loaf in the cellophane wrap; the length of cellophane should wrap around your loaf twice.

You should finish wrapping the loaf with the end of the cellophane being on the bottom of the loaf.

Now, you're ready for the ribbon!

We used Wraphia ribbon (available in a wide variety of colours) for tying our loaves; use a complimentary colour of ribbon to your patterned cellophane wrap.

Tie your ribbon on both sides of your loaf, either in a double knot or in a simple shoelace bow such as we did.

And you're all done!
So, next time you need a host gift or a thank-you gift, think about wrapping up something tasty!


Thursday, September 2, 2010

Tissue Paper Pumpkins!


UPDATE

Want to learn more about how to 
creatively use our packaging products?

Take a look at our new blog,

A Beautifully Wrapped Life here


I love these cute tissue paper pumpkins! Every year, I make these easy tissue pumpkins to decorate my home for Fall. Last year, I made smaller versions, filled with jelly beans, as table favours for our Thanksgiving dinner. Follow our steps below to make the small favour sized pumpkins. To make the larger ones for decorating, just increase the size of the tissue paper circles.

To make your tissue paper pumpkins, you will need sheets of orange, yellow or even green tissue paper, colored basket shred or basket filler to match the tissue paper, florist's tape, a pencil, scissors and a round cake pan. Don't forget the yummy treats that will be going inside the pumpkin!

Layer 5 sheets of tissue paper. Place the round cake pan upside down in the center of the tissue paper and using your pencil, trace a circle around the cake pan.

Cut through all the sheets of tissue paper along the pencil line.

Use 2 sheets of tissue paper for each pumpkin; 1 sheet is too thin but 3 or more sheets becomes too thick. Place a small amount of basket shred (or shredded paper) in the center of the tissue circle. Arrange your treats on top of the basket filler; use enough treats and basket shred to make a full, plump pumpkin.

Gently gather the tissue paper up around the candy starting at one end. Make small pleats in the tissue paper as you go around the circle.

Once you have gathered up all the pleated tissue paper, twist the "stem" top to make a point. This will make it easier to do the next step.

Starting at the base of the "stem", twirl the green floral tape, winding it up the top of the "stem". Ensure that the tape is wound tightly along the "stem". You may add a silk or real leaf to your pumpkin, if desired.

Curl the end of the vine around a pen to make a spiral twist, just like a real pumpkin vine.


And that is how you make tissue paper pumpkins! Once you've made one and see how easy they are, you'll be making a whole pumpkin patch in no time! Have fun!


Interested in great projects, new products and special features?
That's all for now but we'll see you soon!

Anna @ Essential Packaging


Wednesday, September 1, 2010

Eco Chic - New Paper Ribbon!

Our new paper ribbon has been flying off the shelves! Made from 100% paper and totally recyclable, this gorgeous patterned ribbon is so easy to work with and looks so chic!

The paper ribbon comes in two different widths - 1 1/2" x 25 yards and in 3 1/2" x 25 yard rolls.
Available in zebra, tiger and damask patterns, this paper ribbon makes a bold statement on any gift wrapping!

Here we used about 1 1/2 yards of the 3 1/2" wide tiger pattern on a small black garment box - wow!

On this double wine box, we chose the elegant black and white damask pattern, tied in a simple double knot bow. This paper ribbon is very strong and durable so it's easy to tie it into bows.

Now for something even "wilder" - we teamed up our tiger patterned paper ribbon with our new leopard frosted bags and leopard patterned tissue paper - perfect for someone who likes things a bit wild!

We also did another version using the zebra paper ribbon, matched up with the new zebra frosted bag and zebra tissue; we even added a little black fuzzy boa bow in the center of the zebra bow. Try adding a punch of colour with solid tissue paper or ribbon in hot pink, purple or lime green.